About a month ago, I went out of town for business for a few days. When I returned, Chip blew me away with how far along he was on his little sister’s graduation and birthday gift from us. With a recent purchase of a 10 inch miter saw, we knew that we wanted to create something for Mary Claire that would last a lifetime as she begins this new season. A handcrafted piece of furniture seemed just the right thing!
We sent her to Ana White’s blog and had her choose anything she wanted (that seemed within reason of our skill level). She chose this amazing Rustic X Console table that looks straight out of the Pottery Barn catalog.

For those of you who have never encountered Ana White, she puts together free step-by-step plans for every kind of furniture imaginable. It’s pretty darn awesome.
Although I missed the first half of the build, I got to join Chip for the second half of the process.
Here’s a run-down:
Yes, I used the miter saw. And yes, it was slightly scary at first. But I quickly got used to it… and really loved the efficiency. I also learned how to use the Kreg pocket hole jig. Power tools are getting to be pretty awesome in my book.
After finalizing the build, except for attaching the tabletop to the base, we took it outside for a staining party. We mixed our own stain to get the color we wanted – a rustic brown with hints of grey. It was a combo of Varathane’s Early American and Sunbleached. You can see the test staining here in the bottom right! Don’t mind the orange paint – that was from another project that I’ll post about soon.

A couple tips when staining:
1. We prefer water-based stain. It washes off easier. Still wear gloves – you won’t regret it. Or else you’ll smell like paint thinner for weeks…
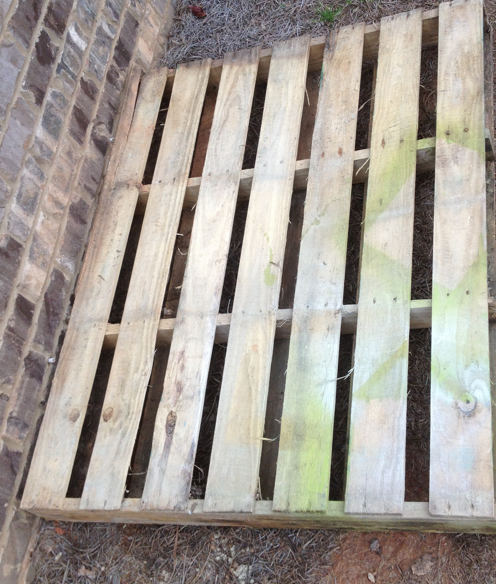
2. Stain your piece of furniture on top of pallets. They will catch the drips, but also keep the furniture stable and off of the ground.

After the stain had time to set, we used a matte finish polyurethane to protect it and give it a hard coating without the shine. To me, shine doesn’t scream rustic. We had never seen the matte finish before, but we were so pleased with the result! You can hardly tell that it has anything coating it!
Although it’s still drying and curating (takes about a week), we couldn’t wait to see it in its new home, so brought it to Mary Clarie’s bedroom. We ooohed and ahhed for quite a while to be honest.

Those X’s (while the most difficult part) are my favorite part! They add so much character to the piece.

As soon as it is finished and styled, I’ll make sure to post photos of the final product. More than anything, we’re just thrilled to see how our first big woodworking project turned out. We keep talking about how special it will be for MC to tell her kids one day that their Uncle Chip built the piece. I just love family heirlooms and things with meaning.
Now, I’m ready for one for our own home to pass down!